Article Post
Residential Oil Spills: A Messy Business
September 8, 2022

According to Statistics Canada, there are approximately 7.3 million single detached homes in Canada, 14% of which use fuel oil for heating. Although most of those are in rural areas, there’s a surprising number in cities. Additionally, there are a little over a million residential fuel oil tanks in Canada, and 500,000 of those tanks are in Ontario, according to the TSSA.
Consequences of residential oil spills
Environmental contamination
Fuel oil seeps into the soil and other permeable substances, such as concrete. Once the fuel oil is in the soil, it can infiltrate the groundwater and get carried along to various other water sources. The longer it’s left there, the further it spreads and the more areas it can infiltrate.
Property damage
This is usually directed at interior tanks. As the fuel oil leaks out of the tank, it’ll permeate any surface, including wood, concrete and drywall. The oil also soaks into fabrics and textiles, rendering them a complete loss. In addition, fuel vapour can spread throughout the home, which damages the number of items that would otherwise not be in direct contact with the oil.
Health issues
Fuel oil exposure can lead to some adverse health effects, although these usually only arise when there’s extended contact with the fuel oil or vapour. This mainly occurs in spills involving interior tanks, owing to the enclosed spaces.
Most often, health effects occur when a homeowner spends a significant amount of time trying to mitigate a loss immediately after a spill. Usually, they hang around the basement trying to collect spilled oil into containers. This can lead to a lot of respiratory problems that require hospitalization. In some instances, the adverse health effects could be fatal.
High clean-up costs
The cost of remediation for fuel oil spills has increased considerably in recent years. It can be a complicated endeavour as you’re trying to conduct testing to determine where the oil has spread and actively taking steps to remove the contaminated soil and treat any contaminated water.
This is all performed in an environment where the oil is constantly moving and spreading; depending on where and how the oil spreads, it may be necessary to reinforce the building to excavate the contaminated soil structurally. This can add engineering and construction costs to the remediation and testing, which are already high at that stage.
High litigation costs
Litigation costs of fuel oil claims have been steadily increasing over the years, especially as remediation costs continue to rise. It’s become more worthwhile for insurers to spend more money on counsel and experts to reduce their claims exposures and drive the settlement values down. While this is good for defending insurers, it’s quite bad for subjugating
insurers, as it means that settlement values are coming down and the resolutions are taking significantly longer to achieve.
Types of oil tanks
The most commonly encountered residential oil tank is the vertical one. All tanks in Canada need to be certified, follow certain regulations, and meet certain specifications. These specifications are included in a standard developed by the Canadian Standards Association. Moreover, tanks are usually certified by underwriters and laboratories. There are few configurations available, some common and others less encountered.
Single-walled residential oil tanks
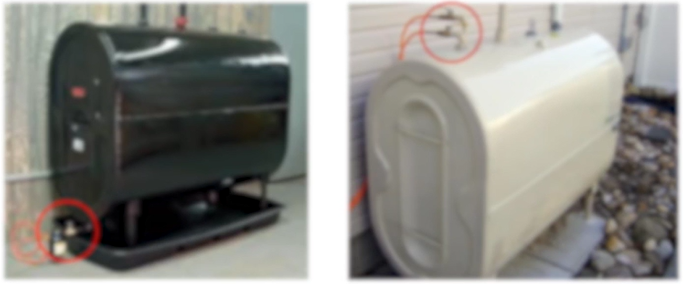
Figure 1: Vertical fuel storage tanks with a bottom (left) and a top (right) outlet port.
On the right-hand side is an example of a less commonly encountered vertical fuel storage tank with an outlet port at the top.
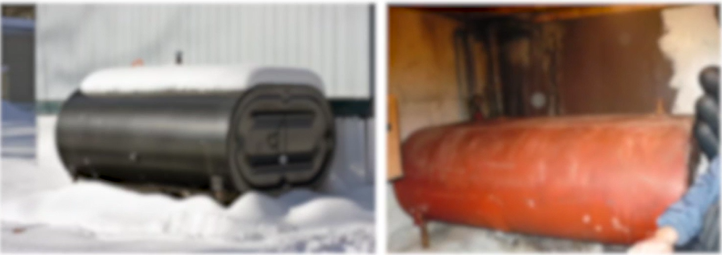
Figure 2: Indoor (right) and outdoor (left) horizontal tanks.
Some oil storage tanks are designed to be installed horizontally, especially when they are installed indoors or in crawl spaces. Horizontal tanks are provided with an outlet port on the side or at the bottom.
Installation of oil tanks in parallel or series is permitted, provided the installation follows the requirements of the applicable codes.
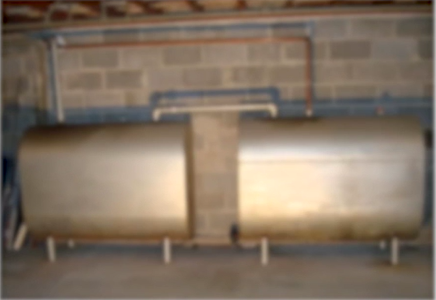
Figure 3: Serial installation.
In Ontario, the handling and storage of fuel oil are governed under the Technical Standards and Safety Act (TSSA) under Ontario regulation 213. It is administered under Canadian Standard Association standard B139 Ontario installation code for oil-burning equipment.
This standard determines the specific fuel oil storage, handling, and utilization requirements. Due to the increased number of oil spills from single-walled tanks, an amendment issued by TSSA in Ontario mandates that all above-ground tanks be installed with double bottoms, double walls or secondary containment as of November 9, 2012.
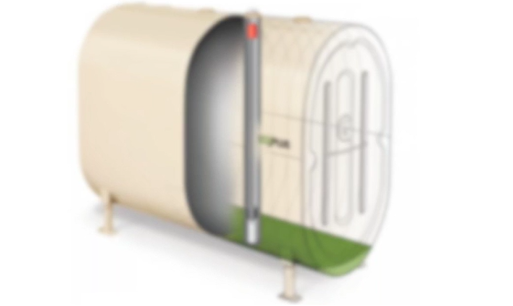
Figure 4: A double bottom system with a leak detection system. Image courtesy of Granby Industries.
These tanks are provided with a double bottom and are equipped with a leak detector system. Some of these tanks are designed to take at least 100% of the inner tank’s capacity and provide maximum protection in case of a leak.
The most common causes of residential oil spills
The most common one is microbiologically induced corrosion (MIC) – a degradation mechanism.
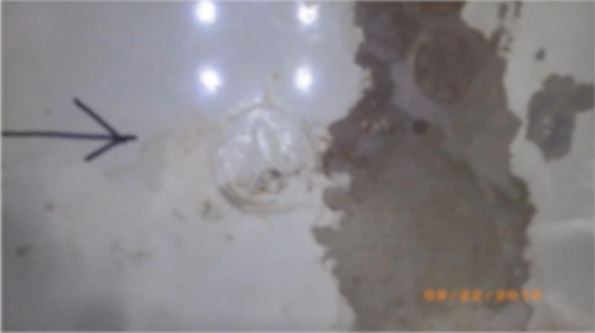
Figure 5: Bottom perforation by MIC.
Microbial growth is always related to the presence of water. MIC is due to water accumulation inside and at the bottom of the oil tanks. Water forms inside the tank mainly because of condensation. Bacteria can thrive in stagnant water containing organic material that pollutes diesel fuel.
Diesel fuel is known to provide a source of nutrition for bacteria that are present. As bacteria inside the tank release corrosive compounds, the tank’s steel becomes corroded from the inside out until the bottom wall is eventually perforated.
MIC is undetectable by visual examination. Usually, it is detected using more complicated techniques, and all suppliers do not use the instruments used to detect MIC.
In figure 5, the hole is not visible because a layer of paint obscures it. In this case, the paint’s bulging revealed the hole’s location at the bottom of the tank. Often, multiple holes can form at the bottom of the tanks, as shown below.
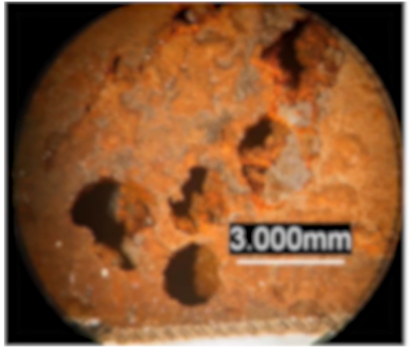
Figure 6: A picture showing severe pitting at the bottom of the tank.
The pits in figure 6 will eventually develop and form a bottom hole perforation.
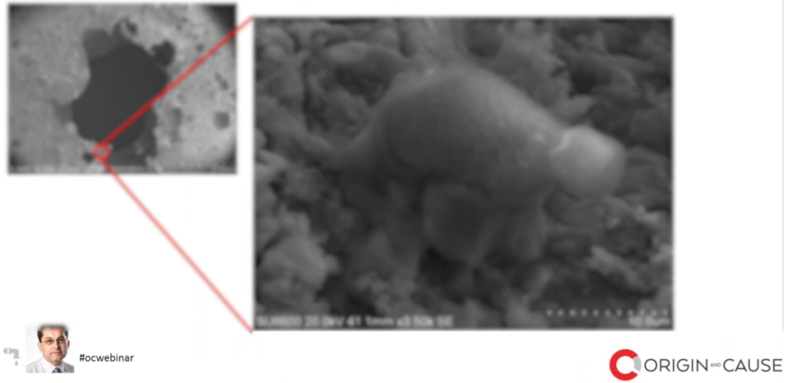
Figure 7: A scanning electron microscope image was taken at a magnification of 3500×.
Figure 7 shows a bacterial colony in one of the pits close to a bottom hole. Sometimes, design deficiencies are a contributing factor to MIC.
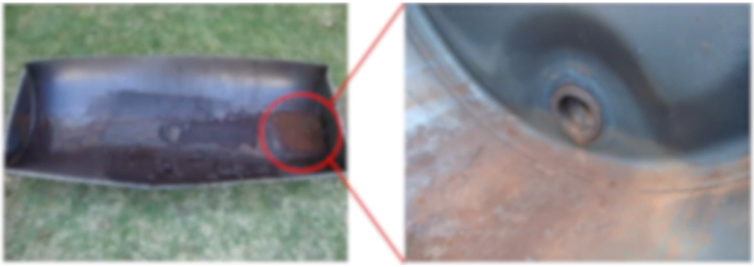
Figure 8: An oil tank was sectioned in half to expose the bottom and the side.
The water cannot be completely drained from the tank if the outlet port is on the side and above the bottom. Instead, it will stay inside the tank, eventually leading to favourable corrosion conditions. In the right-hand-side image, the waterline is distinguishable within the brown pattern.
Oil spills are not necessarily associated with design issues. They could be related to improper installation and maintenance issues. In this particular instance, although the tank is incorrectly sloped away from the outset – contrary to the regulations applicable at that time – the oil spill did not occur from internal corrosion. Rather, it occurred from a defective valve.
Had the defective valve been replaced with the proper one, the oil spill would have likely not occurred. However, the owner decided to patch the valves using tape and insulation foam. This improvisation did not last long. Eventually, the oil is discharged into the environment.
To prevent sediments from the tank from travelling to the furnace, oil tank installations are provided with in-line filters downstream from the outlet port. These filters must be replaced at least once a year. This is done for certain types of filters by unscrewing the cylinder canister from the lid and replacing the filter inside with a new one. Then, the canister is screwed back onto the lid.
In this case, the person who replaced the filter damaged the threads during reinstallation. This damage is called cross-threading. The threads did not fit on each other, resulting in damage that created pathways for oil discharge. There are instances when the associated washer with a filter is pinched or the wrong size. Such conditions could also lead to an oil spill.
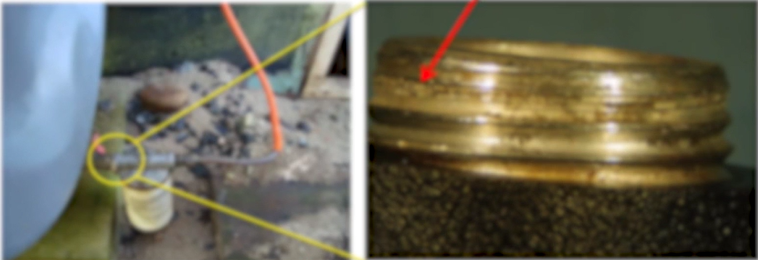
Figure 9: An outlet port, as seen from inside the tank.
Oil tanks are made of welded steel plates. The outlet port is welded onto the shell of the tank. As highlighted by the red arrow in figure 9, the weld was improperly made. There is a gap between the tank’s shell and the output port. That gap accumulated stagnant water and eventually corroded the steel, leading to an oil discharge. Defects in the welds can lead to water accumulation. Over time, the stagnant water would lead to internal corrosion of the tank.
We have seen numerous cases where the oil spill was because of an installation issue. The code requires that an oil tank be installed on a solid foundation and protected from falling ice or from toppling over.
If an oil tank is installed on patio stones with improper foundation, for example, the front legs of the tank will collapse due to rain and ground settling over time. As a consequence, the tank can completely fracture the outlet valve, allowing oil to discharge.
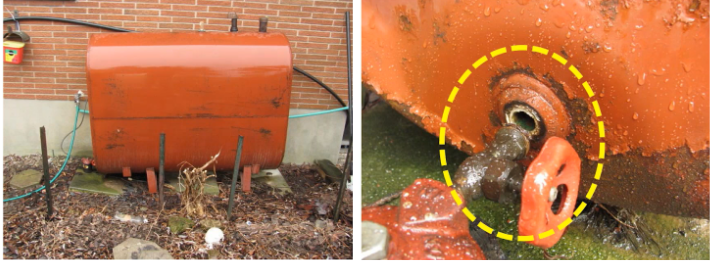
Figure 10: An example of a valve fracture.
The oil supply line from the outlet port consists of a steel pipe. Had the pipe above been anchored properly, the valve probably would not have failed. This installation should have been done according to the code.
Oil spills can be accidental as well. Figure 11 shows the bottom of an oil tank, where an outlet valve was located.

Figure 11: An example of a shutoff valve fracture.
The fracture surface does not show why the valve failed. Therefore, we must take the remainder of the component to the lab for further examination. In this case, the tank was located in an area with vehicular movement and was not protected from impact. During snow clearing, a chunk of ice was pushed laterally into the valve, causing it to fail.
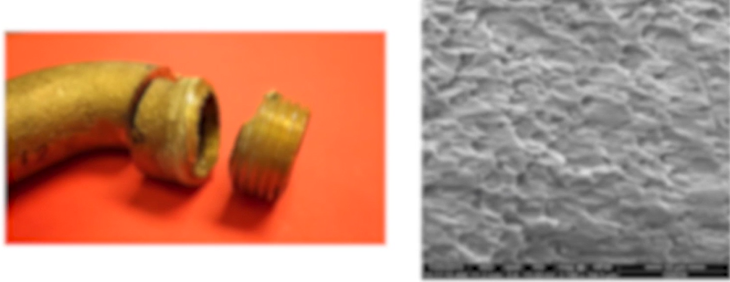
Figure 12: An example of bending overload to a flare fitting connection.
Accidents can happen to other components associated with an oil tank, such as the flare fitting connection above. This component was connected downstream from an oil tank, connecting the oil supply line to the in-line filter. During a renovation project around the property, some workers accidentally lifted the tank from the ground using the old supply line.
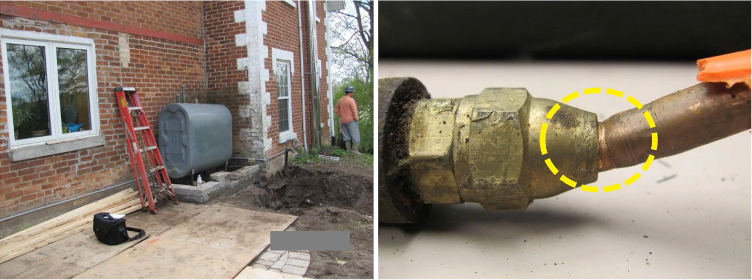
Figure 13: Bending overload, as shown by a yellow circle.
The regulations are very specific on how a tank should be installed. This is a typical example of regulations broken in terms of the installation of the tank. Because the old supply line was not designed to withstand the weight of the oil tank, it bent and ruptured, resulting in an oil spill. There was no foundation, and the tank was not secured. As a consequence, it toppled over shortly after installation, allowing a significant amount of oil to discharge into the environment.
Maintenance issues are also a concern for older tanks. In the case shown in figure 14, external corrosion led to an oil spill. The image shows the weld associated with the underside of the tank.

Figure 14: An example of external corrosion.
One can see significant corrosion activity around the weld. Fortunately, we were able to attend the site before the tank was removed. We found that the tank was installed on top of a flower bed, and the humidity caused external corrosion, which eventually led to more perforation from the outside.
Outside corrosion on other components of the oil tank can also lead to oil spills. For example, corrosion and wall thinning to the saddles supporting oil tanks can cause the toppling of the tank, which would result in an oil spill.
We often encounter oil spills associated with indoor oil storage tanks. When an oil supplier fills an indoor oil tank, the supplier has no visual contact with the appliance while he pumps oil into the tank. He relies on the vent whistle installed on the tank to stop the filling operation when the tank is full. However, if this device is not functioning properly, overfilling can occur.
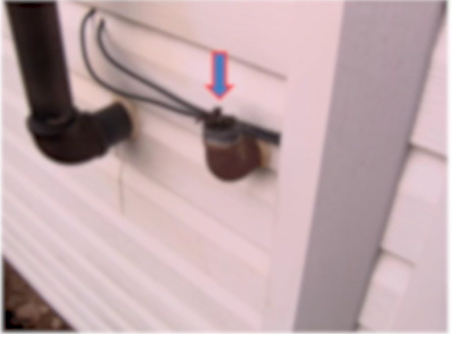
Figure 15: An obstructed vent whistle in operation.
If insects obstruct the device, for example, the vent whistle will not work properly. In this instance, the oil operator was not aware that the indoor tank was filled. He continuously pumped oil until it flooded the basement.
Some indoor oil tanks are supplied with oil through partially buried underground pipes. In this case, the oil spill was discovered many years after it started. This is because the fuel pipe’s corrosion occurred underground, which was undetectable. Moreover, oil was discharged only when the tank was filled, and this amount of oil discharge was not significant enough to raise a red flag.
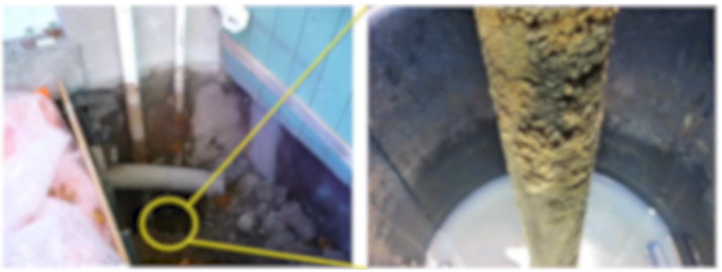
Figure 16: The badly corroded fuel pipe and the fuel supply line.
The oil spill was accidentally discovered when excavation exposed the water supply line during a renovation project around the property. The fuel pipe was badly corroded from the inside and had several perforations, which allowed some of the oil to discharge during filling operations.
In the past, underground storage tanks were acceptable in Ontario. However, they are no longer accepted, with most remaining abandoned on the property. When the property changes owners, new owners are not always aware of the existence of the abandoned underground storage tanks that still contain residual oil.
Over time, internal corrosion on these tanks allows a significant amount of oil to exit the environment.
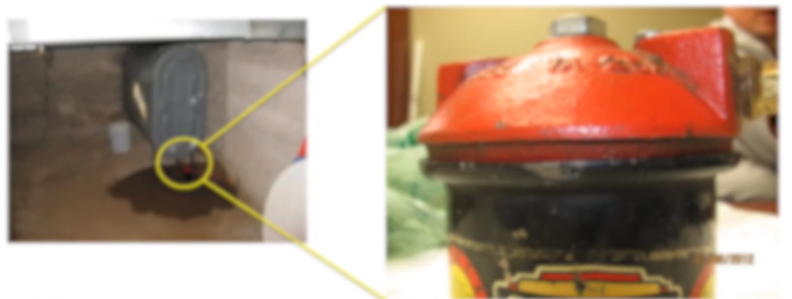
Figure 17: An improperly installed oil filter.
Improper installation of oil filters can also lead to spills. For example, an improperly tightened filter allows oil to escape.
As their manufacturers require, inline filters must be replaced at least once a year and preferably the week before the onset of freezing conditions. This is because oil filters collect both sediments and water from the tank. During cold weather, that water can freeze and cause the canister to crack or separate from the lid upon expansion.
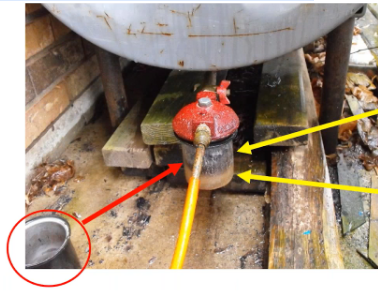
Figure 18: A valve was damaged due to frozen water.
Oil spills can be caused by unusual situations. In the case above, a chunk of ice was formed inside the filter. As a result, the filter was deformed.
We investigated a case where an oil spill occurred due to MIC. However, we found the tank in very good condition upon sectioning, except for a localized area that contained significant corrosion activity.
We found several objects in the oil tank. Upon further examination and investigation, we determined that a group of kids pushed several bees inside the tank to see how they would survive inside. They used a rag and wooden sticks to do so.
Do’s and Don’ts in an oil spill investigation
Oil spills are lengthy and very complex investigations. In addition, they require the participation of several parties, including insurance companies, adjusters, TSSA, oil suppliers, tank manufacturers, remediation companies, engineers retained by various involved parties, and lawyers. Therefore, knowing what to do and what not to do when involved in an oil spill claim is very important.
According to the Government of Ontario, as a homeowner, you must immediately report an oil spill if you:
- Cause or permit the release
- Had control of the substance just before the oil spill occurred.
- Are a member of a public agency, and the spill hasn’t been reported.
The spill must be immediately reported to the following:
- The Ministry of the Environment and Climate Change’s Spills Action Center
- The municipality
- The person in control of the substance, if known and not already aware
The Do’s in oil spill investigations
- Make sure the Minister of Environment has been notified of the incident.
- Take pictures of the incident tank, fittings, pipes, other components, legs, underside, foundation, and manufacturer labels, including closer views. Until the TSSA in Ontario attends the site, you cannot change the site or remove the tank. However, taking lots of pictures will save you money and time. By the time engineers are assigned to a claim, the tank is already removed, and the remediation action has started.
- Contact a forensic engineer who specializes in oil spills to attend the scene before the cleanup crew changes the site condition. Seek advice on what document to preserve before the engineer attends the site.
- Retrieve relevant documents associated with the installation, inspection, and maintenance of the tank, as well as fuel oil history delivery from the owner.
The Don’ts in oil spill investigations
- Don’t tamper with and/or discard any evidence.
- Don’t forget to document the fuel oil tank’s condition and position, including the foundation and the surrounding environment.
- Don’t forget to document the chain of custody. Once the TSSA releases the site, it is very unlikely that the tank will be examined on-site by all the parties involved. Therefore, until such an investigation is set, the tank will be eventually removed and securely transported to an offsite location or an independent lab. It’s important to document its condition, journey, and companies, including the possible people who handled the tank during its journey from the site to offsite or to an independent lab. This will prevent discussions about the spoliation of evidence.
- Don’t forget to retrieve relevant documents associated with the tank installation, inspection, maintenance, and fuel oil history delivery from the owner. They might not necessarily be important for a technical examination, but they are crucial for the insurance carrier and the law firm that will be later handling the case.
Steps to take at the onset of the subrogation process
Subrogation starts immediately after the loss. Therefore, you need to preserve whatever evidence you can. This is critical from both the technical perspective and the legal perspective. You want to document everything you can about the tank’s condition at the time of its failure, including details of the installation and the tank’s condition. It’s especially important to identify any deficiencies with the tank or its installation, whether or not it’s the cause of the leak.
Critical documents to obtain
- Comprehensive inspection from the installation of the tank. This needs to be filled out by the contractor who installs the tank, and it’s provided to fuel oil suppliers.
- Records of all fuel oil deliveries.
- Contracts and invoices from the tank installer.
- Contracts and invoices from all the maintenance on the tank and the heating system.
At the outset of the subrogation process, we want to preserve the ability to recover. Successful remediation and correct documentation of evidence doesn’t mean you’ll recover all that money.
The aim is to take as many steps at the front end of the loss process to ensure that you can recover as much as possible at the subrogation stage.
So, it’s important to hire an independent party to review the remediation plan and the execution as it’s going on rather than leaving that to the legal side at the end of the day.
In the Thornhill v. Highland Fuels case, the trial judge was highly critical of DL services for performing some excessive work and venturing outside their initial budget. DLS was criticized for specifically excavating to levels well below where their sampling data showed the presence of oil, waiting for months before they commenced excavation, and incurring excessive dumping fees. The trial judge described it as orders of magnitude outside of the budget.
Their actions aren’t that unusual compared to other remediation contractors. So, that’s something we want to be aware of and deal with immediately. At the end of the day, it will cost less to have a qualified independent engineer directing the remediation and reporting on it than to face the prospect of reductions in the remediation cost during the subrogation process.
In a recent case we dealt with, the subrogation insurer spent approximately $800,000 on remediation, which included jacking up a house worth approximately $100,000 to excavate the soil. At the pretrial conference, the judge was highly critical of the decision to save the house rather than demolish it.
He considered that it would have been a much less expensive option to pay out the insured, demolish the house, and then do regular remediation rather than jack up the house.
At an early stage, we want to get a comprehensive expert report to support our subrogation efforts. But to maximize the potential, we want to focus on a few things:
Identify the cause of the failure. That is typically what experts are instructed to do. However, it is equally important to identify other code violations that may have been present in the tank and the heating system at the time. Other code violations can lead to liabilities against parties who may have seen those deficiencies or ought to have seen them and who should have taken steps to have them dealt with. So, if they had dealt with them properly, the logic is that the tank would have been removed from service, and it wouldn’t have leaked. Even if that violation didn’t cause the leak, it might still lead to some liability.
Litigation strategies
Identifying subrogation targets
To consider the potential subrogation targets in any matter, we need to ask ourselves three questions:
- Who caused the loss?
- Who could have prevented the loss from occurring?
- Who could have made the loss less severe?
These are essentially three classes of targets. From a liability perspective, the first class of defendants will have the most exposure. In fuel oil cases with no first-class defendants, the second or third may have some exposure.
The expert report is especially critical to proving liability against these classes of parties. In the first class, you’ll have the installer if the tank was installed improperly. If maintenance wasn’t properly performed, you’d have the maintenance contractor in this category as well. If somebody physically damaged the tank, they’ll also end up in the first class.
In the second class, you’ll have other qualified parties who should have identified deficiencies and taken the tank out of service. This can include the fuel delivery company and any other maintenance contractors who were on site, even if they weren’t specifically required to work on the tank.
Under the fuel oil regulation, if a qualified party sees a code violation, they have to tag the tank out as either an immediate or non-immediate hazard. The tagout precludes further fuel oil deliveries after the time for rectifying the violation has gone by. With most steel tanks, the only real remedy is the replacement of the tank.
Exterior corrosion on an external tank is considered a code violation, although it has nothing to do with MIC. It’s usually a non-immediate hazard worthy of a 90-day tag. However, if a fuel oil delivery contractor fails to issue that tag and the tank subsequently leaks, they can still be liable for that.
Retain counsel early
Counsel sometimes raises issues that aren’t considered by adjusters and contractors. Some of the best results on subrogation matters occur when we are retained by the insurer exceptionally early. Sometimes we’ve been retained on the day of certain large losses.
This could be as simple as pointing out concerns that the defendants might have with the remediation process at the time rather than criticizing it later or guiding the expert as to what elements they should be covering in their report. That way, we capture everything in a single report.
When these investigations in the subrogation are carried out early, liability issues can be sorted out before the remediation is completed. In that case, we can get comprehensive reports and be prepared to hit the ground running once that first-party claim is completed. As a result, we’d be able to issue claims without a waiting process. We can also put parties on notice a lot earlier, which drives us closer to settlement at an early stage.
Identify frailties early
No subrogation case is perfect. It’s very common for insurers and homeowners not to arrange for proper maintenance of the tanks. So, it’s important to engage counsel to identify potential weaknesses in your case. This enables you to set settlement expectations appropriately.
Since 2007, annual maintenance has been required on fuel oil tanks, and it’s the homeowners’ job to make sure it gets done. When they fail to arrange for this maintenance, they’re likely to face significant contributory negligence for any fuel oil leak. If the remediation costs are excessive, or there’s no independent oversight, it’s best to consider what should or should not have been done at the outset of the case rather than waiting until down the line.
Sometimes, other contractual clauses preclude recovery against parties who would otherwise be liable or can otherwise reduce the value of the claim by creating more risk. Some of these clauses are easier to identify than others. Hence you should engage counsel early.
Adopt a collaborative approach to litigation
Work together with the opposing counsel to make it easier for them to give you an offer.
- Produce all information immediately, including all the expert reports. Giving them that documentation allows the initial investigation performed by those defending adjusters to consider their position and ours.
- Choose discourse over defences. Rather than demanding defences, try and engage in some discussions with the parties to get their various positions. You can then identify the weaknesses in their positions and yours. This leads to an exchange of information documentation, and this will lead to settlement discussions rather than just diving into a discovery process.
- Apply flexible use of litigation steps. Even if settlement is not possible at the outset, we can try and use the litigation process in a way that leads to resolution rather than marching directly to trial. We can do this with some limited examinations for discoveries. We can also do hot-tubbing with experts or some early mediations as potential options.